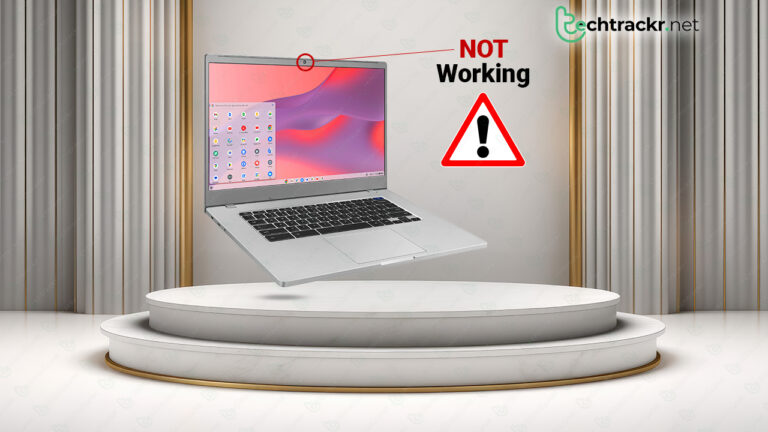
Chromebooks are famous for giving you a solid experience without breaking the bank. But sometimes, things like a black screen or flickering display can be a real downer. Plus, a lot of folks have gripes about the built-in webcam not cooperating. Is your Chromebook camera acting up? Well, don’t worry, we’ve got some top tips to help you sort out your camera troubles. Check ’em out below.
Your Chromebook camera can go wonky for various reasons. It might be because your system is outdated, you’ve denied camera access, the privacy switch is on, an app’s acting up, or other stuff. So, let’s start with the basics and then dive into some fancy fixes.
Did you try restarting your Chromebook?
To troubleshoot issues with your Chromebook’s camera, follow these steps. Start by launching the Quick Settings panel from the bottom-right corner of your screen. In the Quick Settings panel, you’ll find the Power button at the top; click it to turn off your Chromebook completely. After the Chromebook is powered off, press and hold the power button to switch it back on.
Once your Chromebook has restarted, navigate to the Apps menu and locate the Camera app. Launch the Camera app, and if you still encounter a black screen issue, continue reading for further troubleshooting steps.
Also Read: Stream your favorite movies & TV shows without spending a fortune on subscriptions
Time to check Chromebook’s webcam privacy settings
Certain Chromebook models, particularly those made by HP, come with a special privacy switch designed specifically for turning off the webcam. Naturally, if you accidentally toggle this privacy switch, your Chromebook’s camera won’t function as expected. You need to find that privacy switch, usually on the side of your Chromebook, and make sure it’s turned off. Additionally, check if you’ve got any accessories like a screen protector or a privacy shutter that might be blocking your Chromebook’s webcam – take those off too.
When an app you’ve installed doesn’t have permission to use the Chromebook’s camera, it won’t be able to access it, and you might end up with a blank screen. To fix this, you’ll want to adjust the permissions in your Chrome OS Settings. Let’s use Google Meet as an example to walk you through it.
To resolve the issue, first, click on the notification area located in the bottom-right corner of your screen and access Settings. Once in the Settings, select “Apps” from the sidebar and find the app that’s been experiencing camera problems. In the app’s settings, navigate to the “Permissions” menu and make sure to enable the “Camera” toggle.
After you’ve done this, you can close the Chrome OS Settings, and now you should be able to use your webcam without any issues.
Provide camera permission to the web
To troubleshoot camera issues in web applications like Zoom or Teams on your Chromebook, follow these steps. First, launch Google Chrome and type “chrome://settings/content/camera” into the address bar, then hit Enter. If you have multiple cameras connected to your Chromebook, select the relevant one from the drop-down menu.
Next, under the “Default behavior” menu, click the radio button next to “Site can ask to use your camera.” Now, visit the website where you intend to use the camera within Google Chrome. Look for a lock icon in the address bar and click on it. From there, enable the Camera toggle.
Finally, reload the webpage, and you should be all set to join your next video meeting without any camera issues.
Also Read: Want to connect your AirPods to PS5? Here’s how to do it
Resetting Google Chrome can do the trick
If your Chromebook’s camera is acting up specifically in the Google Chrome browser, you can try resetting Chrome back to its default settings. This will get rid of temporary files, clear the cache, disable any Chrome extensions, and reset things like your homepage, search engine, and pinned tabs to their default settings.
To reset Google Chrome to its default settings on your Chromebook, follow these steps. First, launch Google Chrome and click on the three-dot menu located in the top-right corner of the browser window. From there, open the Settings.
In the Settings menu, find and select “Reset settings” from the sidebar options. A confirmation box will appear; here, click on “Restore settings to their original defaults.” Finally, in the confirmation box that appears next, once again, select “Reset settings.” This will reset your Chrome browser to its default configuration, potentially resolving any camera issues you were experiencing.
Update Chrome OS
If your Chromebook’s camera is acting wonky because of a glitchy or old Chrome OS version, don’t fret. Google usually rolls out software updates pretty fast to fix these important issues.
To ensure your Chromebook’s camera gets back on track, follow these steps. Click on the notification center in the corner of your screen and access Settings. Next, choose “About Chrome OS” and then hit the “Check for updates” button. This will prompt your Chromebook to download and install the latest Chrome OS update. After the update is complete, check if your webcam is functioning as expected.
If nothing works, reset the machine!
If your Chromebook’s camera is still acting up, and none of the previous fixes did the trick, it could be a good idea to give it a fresh start by doing a full reset and setting it up all over again.
To reset your Chromebook, click the time icon at the bottom right to access the system menu, then select “Settings.” Inside the Settings menu, choose “Reset settings” for a complete reset. Click “Reset” next to “Powerwash” and confirm by selecting “Restart” in the confirmation box. After the restart, sign in with your Google account and follow on-screen instructions to set up your Chromebook, including language preferences, Wi-Fi connection, and customization.
