Character-based passwords are the most vulnerable aspect of our online security. It’s high time we put in some effort to ensure our online accounts are protected. If you’re planning to get a new phone, this solution might work for you. Two-factor authentication (2FA) works as a vital link between conventional passwords and a future that won’t require passwords. Tapping on the growing demand for heightened security, several companies, including Google, have taken up two-factor authentication. Google has proactively enabled 2FA for more accounts without needing any action from the users.
To provide some context, by 2021, there were around 1.8 billion active users of Gmail accounts. Google’s overarching objective is to introduce 2FA for all its users, although they will be rolling out this security upgrade gradually. While not everyone might be excited about being prompted to use 2FA without the ability to opt-out, it is a crucial measure for ensuring online safety overall. Therefore, until 2FA becomes a standard for all Google users, you can proactively secure your account by following this guide.
Also Read: How to speed up your Windows PC with these simple hacks

Where to find two-factor authentication on Google account
If you wish to adjust your Google account settings on an Android device, you have several options, with using the Google app being one of the most flexible and reliable methods, no matter the device you’re using. To begin enabling two-factor authentication on your Google account, follow these steps:
- To get started, open the Google app and locate the main screen. Click on your profile image in the upper-right corner.
- Look for the option labeled “Google Account” beneath your name and email. Choose that.
- On your Google Account page, swipe to access the ribbon menu under your email, then tap “Security.”
- Scroll down in the “Signing in to Google” section to find “2-Step Verification” and tap it.
- Read the brief explanation of this feature, and when you’re ready, tap “Get Started.”
- Select the Google account you want to use for this, and then simply tap “Next” to log in.
How to enable two-factor authentication
On the next page, you’ll find a list of the phones that have used your Google account for login. These devices act as an added security measure whenever you attempt to log in from a new device. Essentially, all your signed-in devices will immediately receive a notification, allowing you to confirm or deny the login attempt. This requirement of having your devices in hand further enhances the security of your account.

For this tutorial, we utilized the login notifications sent to our authorized devices to enhance the security of your Google account. However, there are alternative 2FA methods at your disposal, including a hardware key or a code generator. If you wish to proceed and enable 2FA for your account, here’s the next step:
- To see more choices, just tap “Show more options” at the bottom.
- You can either use a security key or opt for login codes sent via text messages or voice calls. There is no need to set them up right now; you can configure them in your settings later.
- Once you’ve made your choice, tap “Continue” to proceed to the next screen.
- If you ever find yourself locked out of your other logged-in devices, it’s a good idea to add a phone number as a recovery method. Alternatively, select “Use another backup option” if you prefer a different choice, like one-time backup codes.
- Carefully enter or paste the code exactly as it’s shown, and then tap the “Next” button to confirm your recovery option.
Also Read: How to secure your Wi-Fi network using these simple methods
Now you’ve got a chance to take a look at your existing two-factor authentication settings and make sure everything’s in order. After that, simply hit “Turn On” to activate this feature, and you’re good to go. Expect to see a bunch of Gmail and Google app notifications (if you’ve got them enabled) regarding the changes you just made. You can swipe those away as you see fit. At this stage, you’ll find yourself on the main 2-Step Verification page for your Google account.
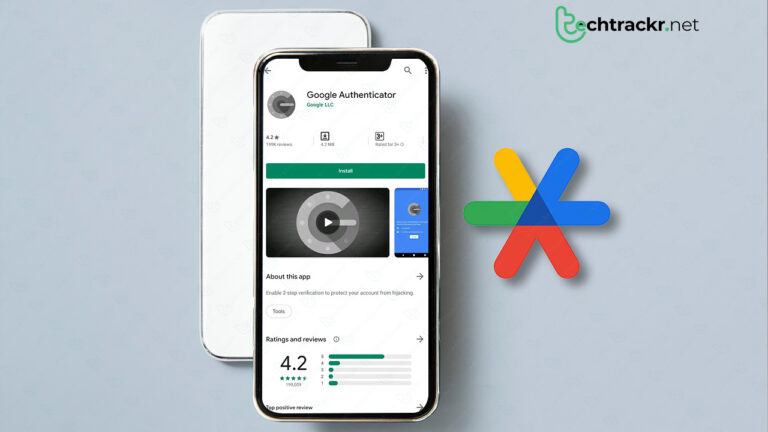
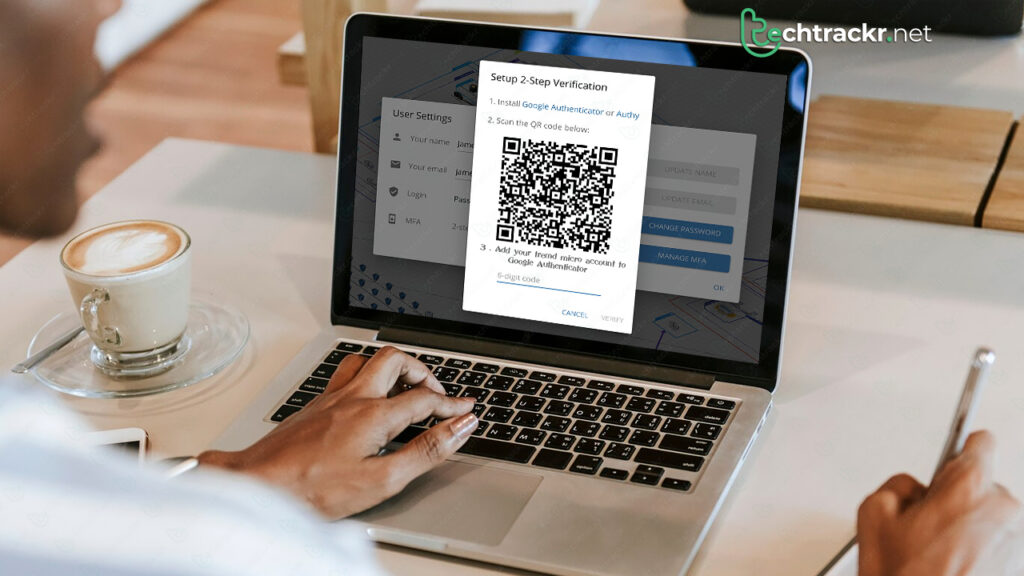
Feel free to explore this page to check out all the two-factor authentication settings at your disposal. When you scroll down, you’ll come across those additional security options we talked about earlier. If you’re not a fan of keeping backup codes or security keys handy, you could go ahead and set up an authenticator app. You have the choice to use the Google Authenticator app or opt for a third-party one, but the key point is that using an authenticator, in general, is a solid move to beef up your account’s security.
After you’ve got everything in order, if there’s any sign-in attempt on your account, you’ll get a screen similar to the example images below. You’ll have the power to give a thumbs up or down to any request trying to access your account just by tapping a button. It shows you where the request is coming from, the location, and the time of the login attempt – all valuable info that helps keep your account locked down.
