As computer hardware gets faster, so does software, including the Windows operating system. This is especially noticeable when it comes to how quickly your computer starts up. However, once your system is running, there are other aspects of performance to think about. Even the latest Windows version can experience a slowdown, and not everyone is ready to switch from Windows 10 to Windows 11 just yet.
If your computer’s dragging its feet, try out these tips to give it a boost. Follow them step by step – if one doesn’t do the trick, move on to the next.
Say no to bloatware
It’s not always Windows 10 that’s responsible for your computer’s slowdown. Often, it’s the pesky bloatware or adware hogging your CPU and system resources. What makes these culprits extra annoying is that they might have come pre-installed by your computer’s manufacturer. You’d be surprised at how much faster your Windows 10 PC can be once you get rid of them.
Start off by running a system scan to uncover any adware or malware lurking on your computer. If you’ve got a security suite like Norton Security or McAfee LiveSafe installed, you can use that for the scan. Alternatively, you can utilize Windows 10’s built-in anti-malware tool – simply type “Windows Defender” into the search bar, hit Enter, and then click on “Scan Now.” Windows Defender will hunt for malware and clean up any it detects.
Also read: How to secure your Wi-Fi network using these simple methods

Try hard disk defragmentation
The more you work your hard drive, the messier it can get, leading to a sluggish PC. When your disk becomes fragmented, it scatters files all over the place, and Windows has to piece them together before running them, which takes time.
But here’s the good news: Windows 10 comes with a built-in defragmentation tool. You can use it to tidy up your hard disk and even set it to run automatically, keeping things organized and your PC running smoothly.
To get it done, simply type “defrag” into the search bar and hit Enter. A window will pop up, allowing you to choose the drive you wish to defragment. Click on the “Optimize” button to kick off the defragmentation process. If you want to select multiple disks, just hold down the Ctrl key and click on each one you want to defragment.
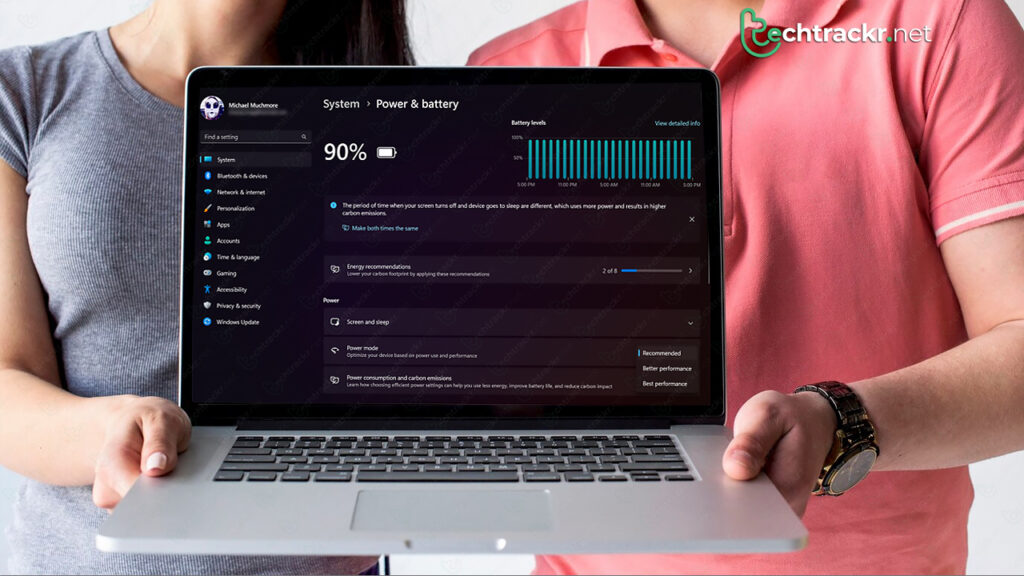
Change power settings
If you’ve got your Windows 10 set to the “Power saver” mode, it’s basically putting the brakes on your PC. This mode sacrifices performance to save energy, and even desktop PCs usually come with a “Power saver” plan. To rev up your PC’s performance right away, switch your power plan from “Power saver” to “High performance” or “Balanced.”
To make this change, open up the Control Panel, then go to Hardware and Sound, and click on Power Options. Normally, you’ll find two options there: “Balanced (recommended)” and “Power saver.” (Depending on your specific computer, you might also have additional plans, some of which could be labeled by the manufacturer.) To reveal the “High performance” option, click the down arrow next to “Show additional plans.”
To switch your power setting, just pick the one you prefer and close out of the Control Panel. “High performance” offers the most power but consumes more energy, “Balanced” strikes a balance between power usage and performance, and “Power saver” goes all out to maximize battery life. If you’re on a desktop, there’s really no need to go with “Power saver,” and even laptop users should think about “Balanced” when they’re running on battery and switch to “High performance” when plugged in.
Also read: How to trace back an IP address via an email
Switch to automated Windows maintenance
In the background, Windows 10 quietly takes care of your computer daily. It handles tasks such as checking for security issues and running system diagnostics to ensure everything is in good shape. If any problems are detected, it fixes them automatically. This ensures that your PC operates at its best. By default, this automatic maintenance runs at 2:00 a.m. every day, as long as your device is connected to power and is in sleep mode.
But, there’s a possibility that this feature might have been unintentionally disabled or your PC hasn’t been connected to power for some time, which means the maintenance hasn’t been performed. You can ensure it’s enabled and have it run daily, or even trigger it manually if you prefer.
To do this, open the Control Panel and go to System and Security, then choose Security and Maintenance. In the Maintenance section, locate Automatic Maintenance, and if you want it to run immediately, click on “Start maintenance.” To set it up to run daily, click on “Change maintenance settings.” On the screen that pops up, select the time you want the maintenance to run, and make sure to tick the box next to “Allow scheduled maintenance to wake up my computer at the scheduled time.” Then, click OK.
Turn off Windows tips and tricks
While you’re busy on your Windows 10 PC, the operating system keeps an eye on your activities and suggests actions you could take. These so-called “tips” have hardly ever proven to be useful. Plus, the privacy concerns that come with Windows continually peeking into what you’re doing.
This constant Windows surveillance and advice-giving can also drag down your PC’s speed. So, if you want to boost performance, you can instruct Windows to stop with the recommendations. To achieve this, hit the Start button, click on the Settings icon, and navigate to System> Notifications & actions. Scroll down to the Notifications section and simply uncheck the box labeled “Get tips, tricks, and suggestions as you use Windows.”